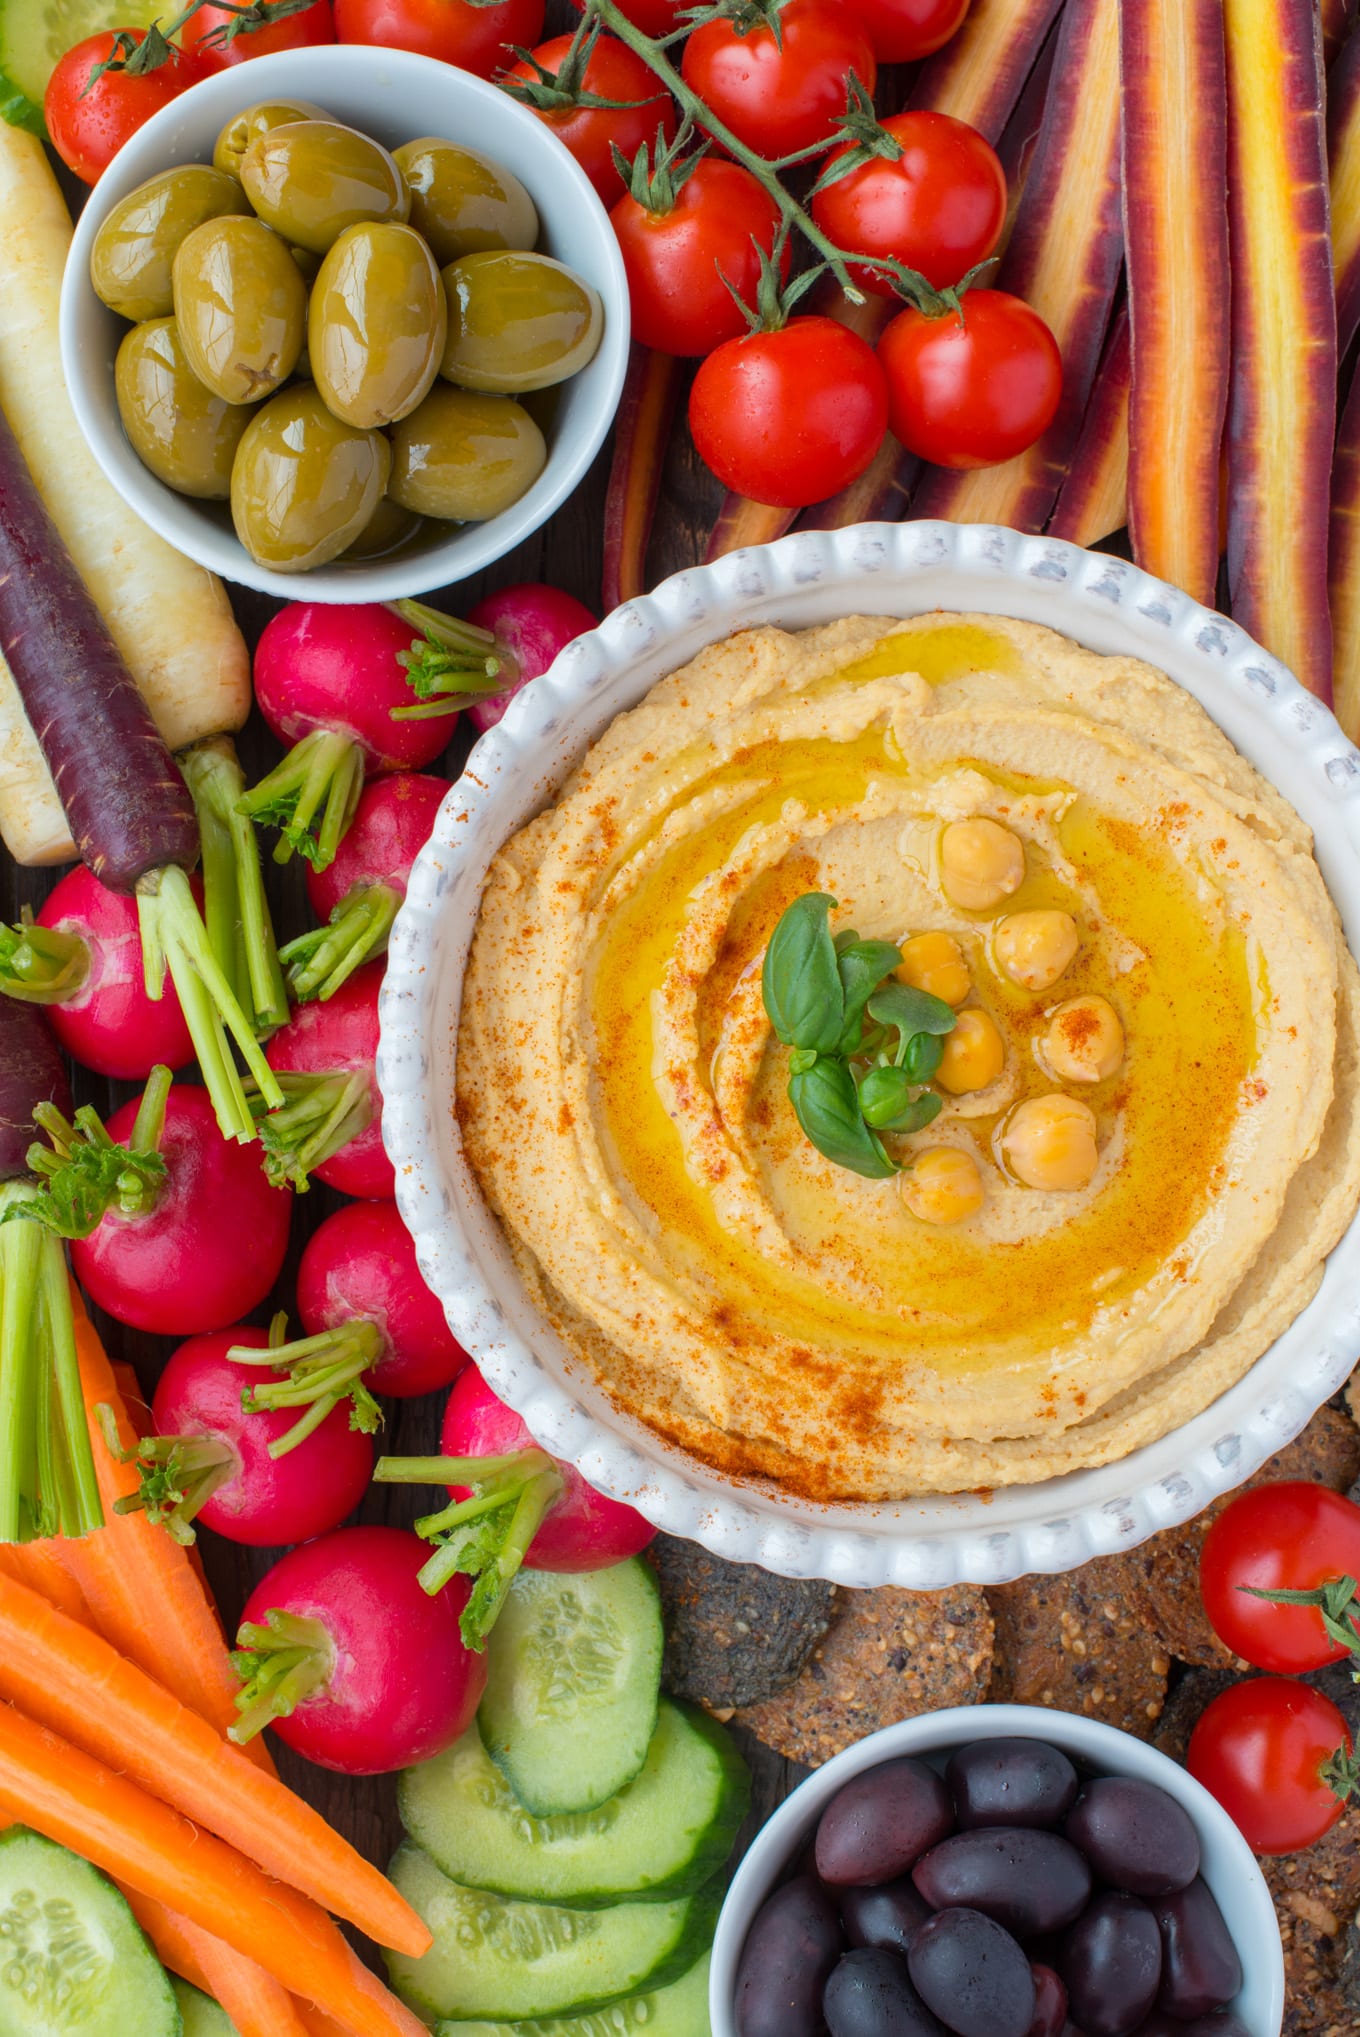
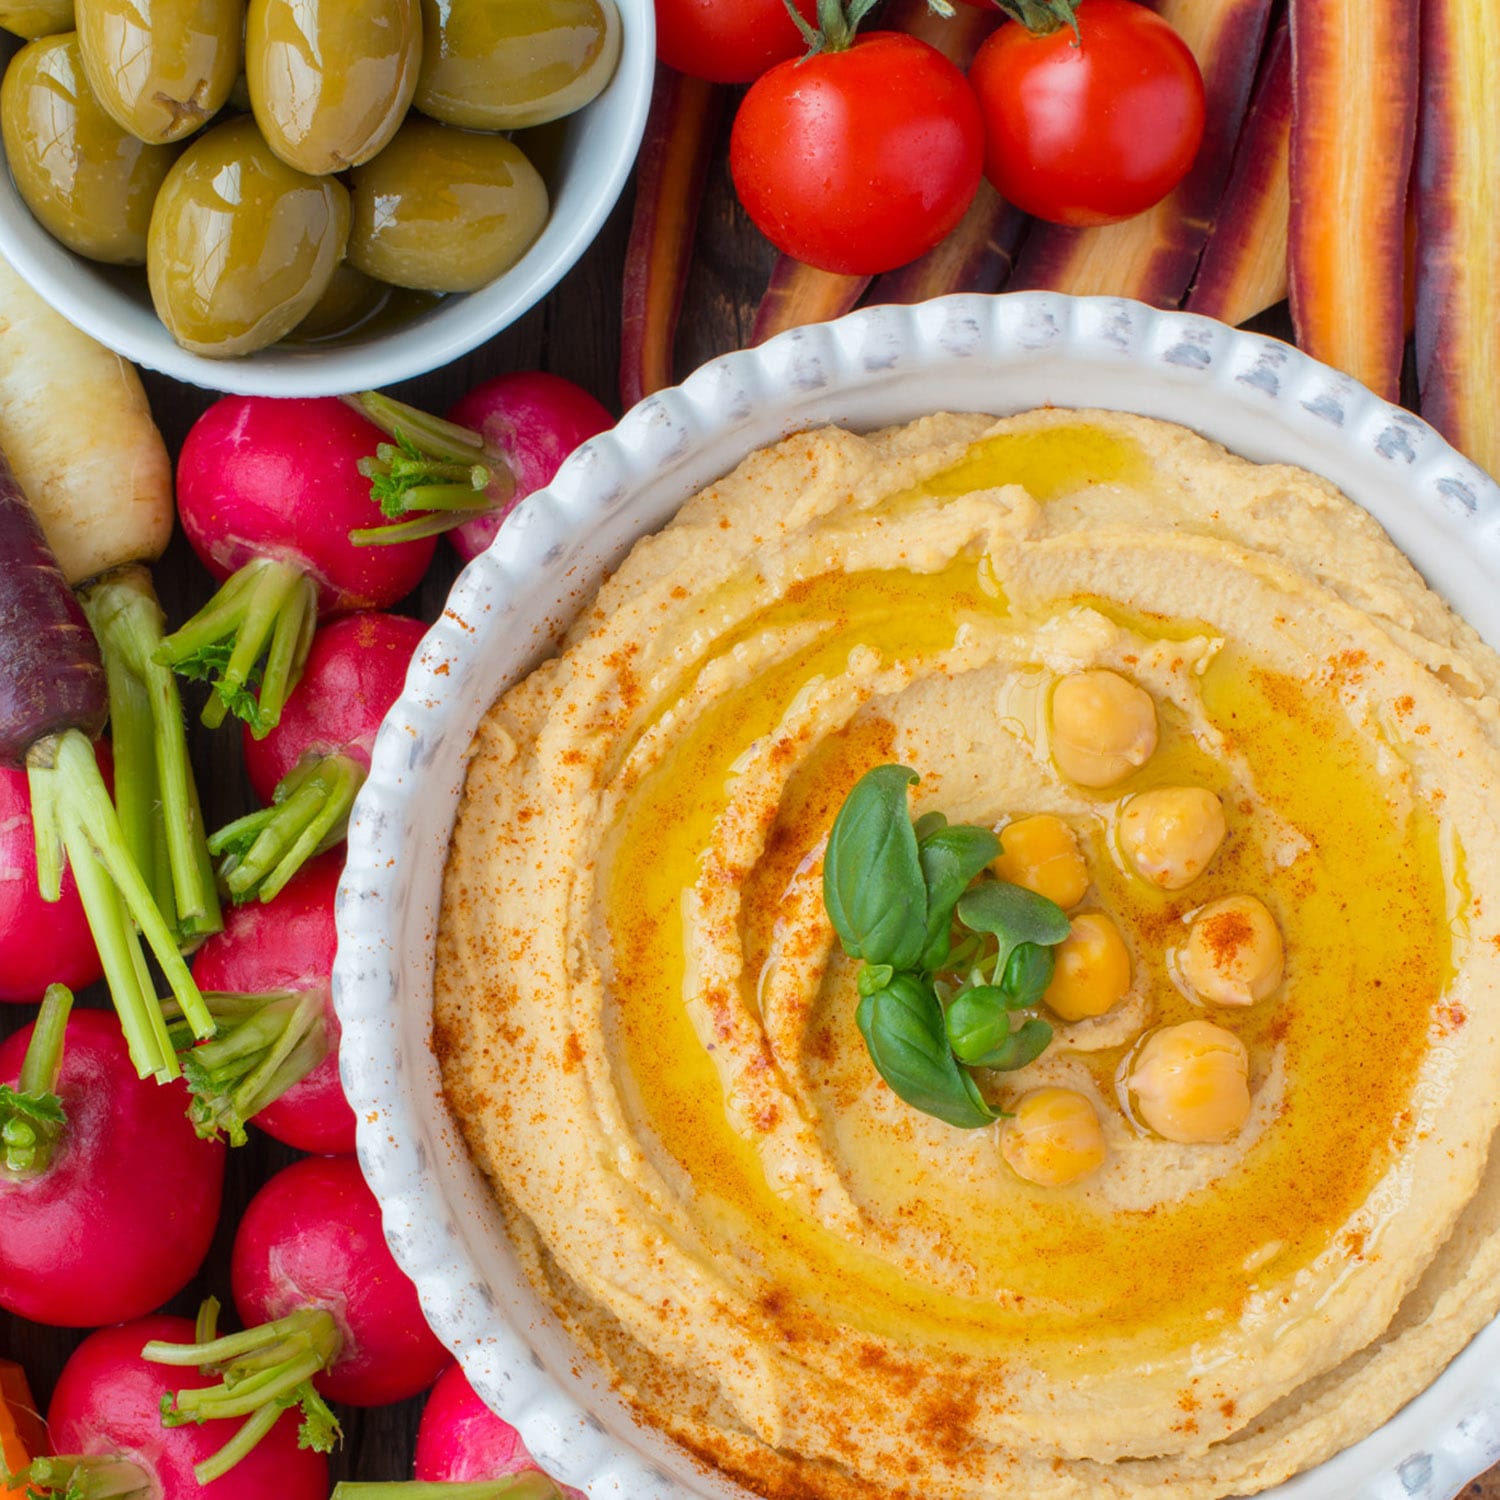
Hummus is a staple in our house, so much so that it’s hard to keep up with the demand. This no oil version is a great way to get some beans in your diet. You will love how creamy this homemade roasted garlic hummus is. As a result, you will not want to buy it from the grocery store ever again!
You may have enjoyed the most wonderfully creamy hummus flavoured gently with roasted garlic at a local Middle Eastern restaurant. We certainly have at Maro’s Bistro not far from where we live. They have a number of vegan options and we never miss out on their hummus. It is so much creamier than what we seem to be able to buy at the grocery store. We had to find a way to have it at home.
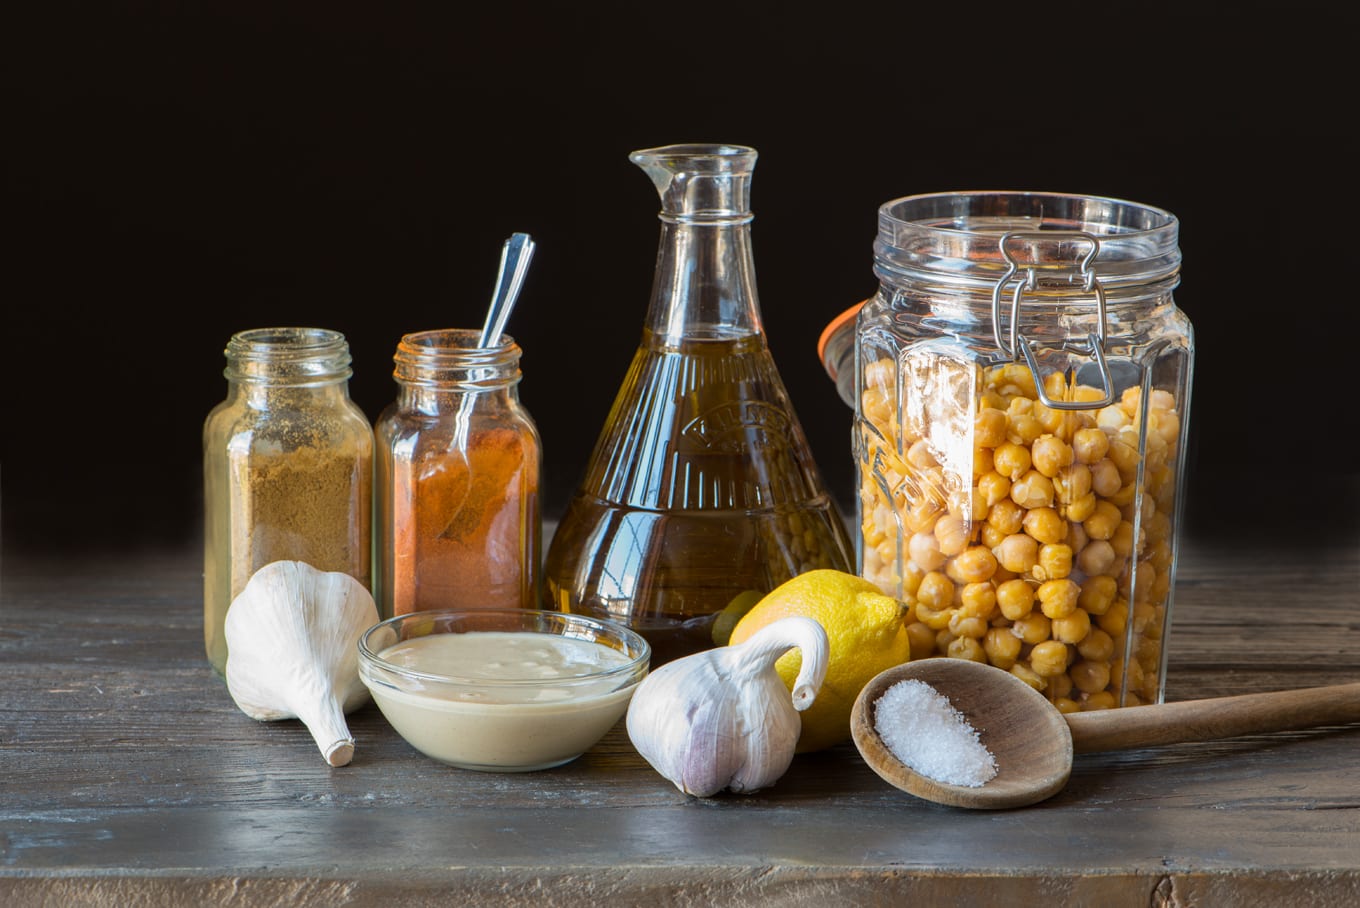
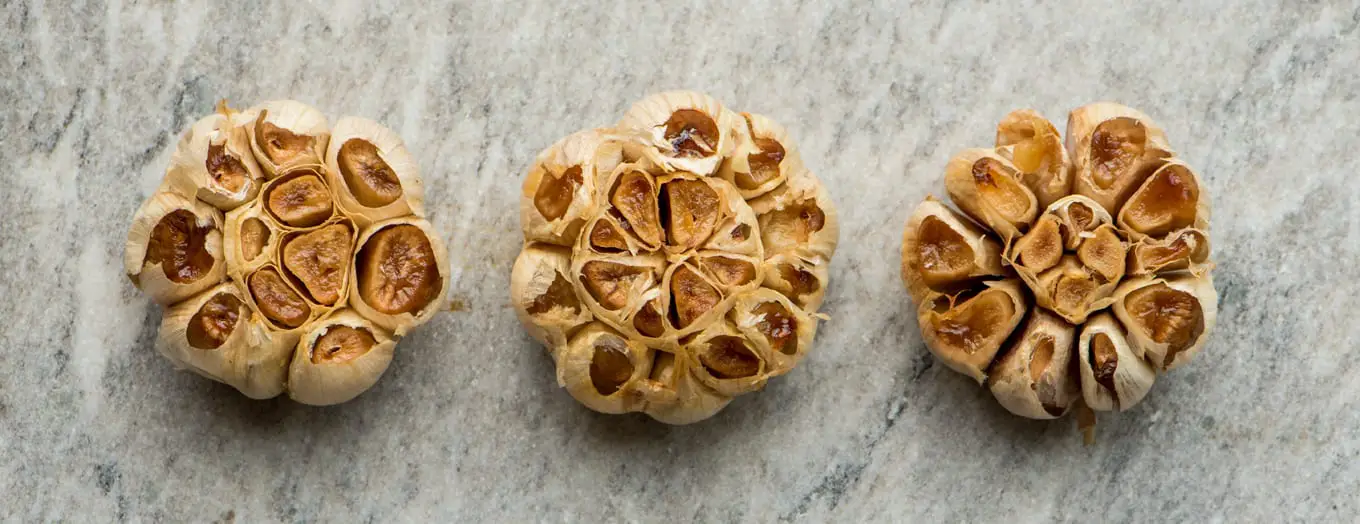
Roasting the garlic for 45 to 50 minutes in a pottery dish yields a wonderfully golden creamy texture.
How to Achieve Creamy in Creamy Roasted Garlic Hummus
We eat a LOT of hummus and, therefore, we tend to use canned beans in a BPA free can (Eden Organic brand) because we always have them on hand. However, feel free to try these with dried beans if that is your preference. When we tried making hummus in the past, it just never lived up to the creaminess we were looking for. Figuring that Maro was not going to share his secrets, we had to work this out for ourselves.
Soaking dried beans helps to eliminate phytic acid in beans. This acid can reduce our body’s absorption of iron and the digestibility of protein. Leaching of the acid during soaking, however, makes the water acidic. This slows down the rate at which the cooking beans soften and can even prevent them from softening at all! Therefore, there will be no “creamy” in your roasted garlic hummus.
Baking soda added to the soaking water and later to the cooking water raises the pH of the water. This, in turn, neutralizes the acidic environment, and makes for softer beans. Therefore, if canned chickpeas are cooked a little longer with baking soda, you will achieve the “creamy” in your roasted garlic hummus. And so it was!
Bringing It All Together . . .
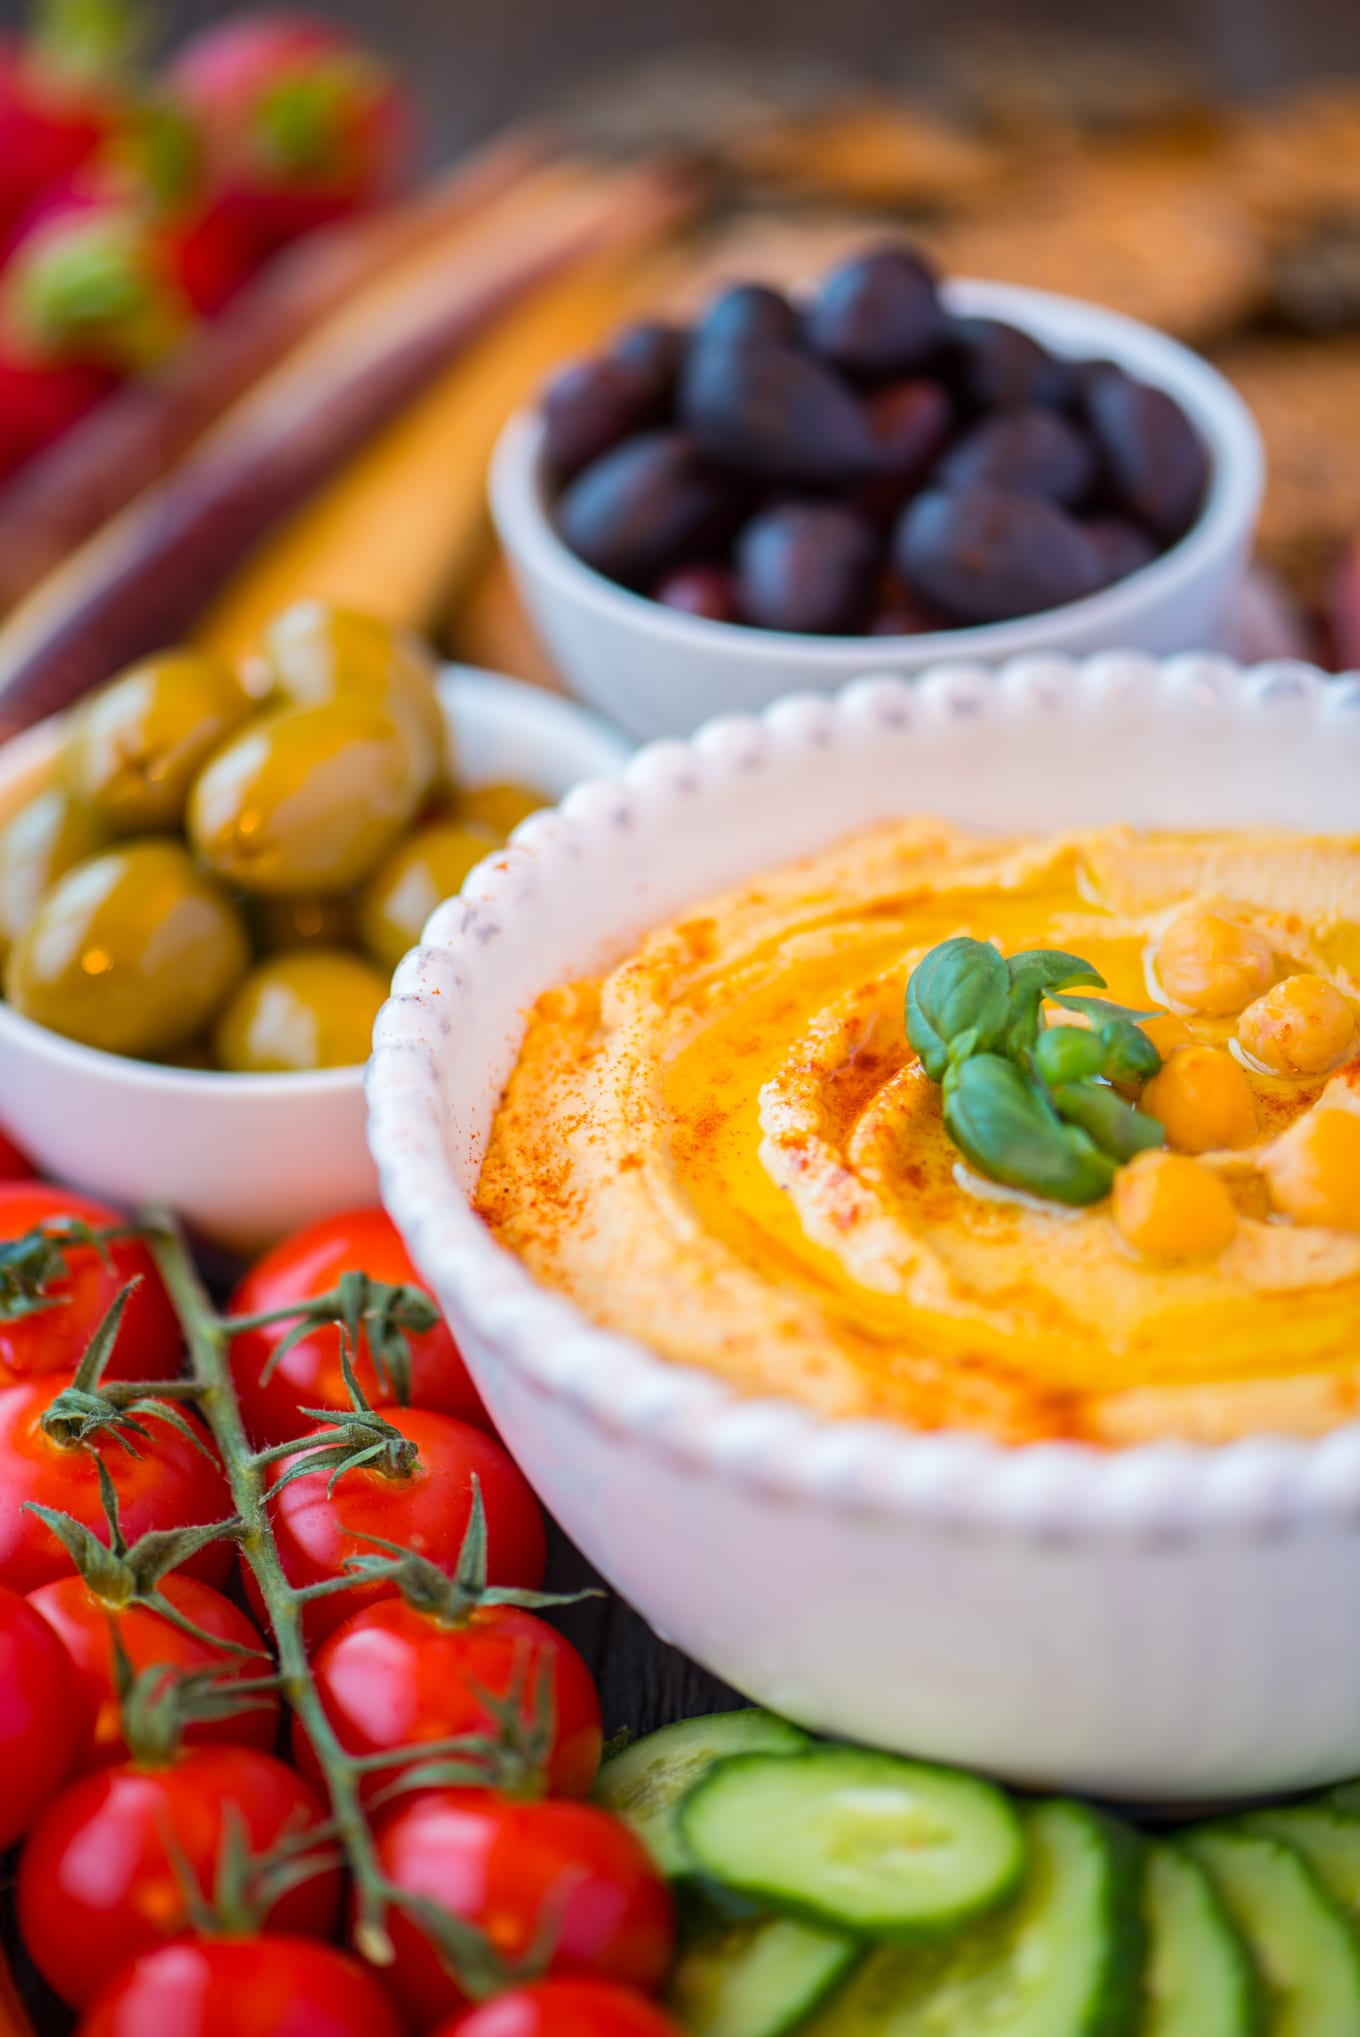
Cooking the canned chickpeas with the baking soda is the key. However, ensuring that your roasted garlic hummus is the creamy luxury you’re looking for, process it in steps. Process the roasted garlic with the lemon juice, spices and salt first. Then add the tahini and continue to process before finally adding the chickpeas. Lastly, add only as much ice water as you need to reach the desired consistency. It is important to use a good quality, light coloured tahini. Some tahini made with darker sesame seeds can taste bitter. One brand that we like and can find locally at Organic Garage is the Kevala brand.
Spread some of this creamy roasted garlic hummus on a sandwich loaded with Baked Tempeh Bacon Strips for added creaminess and extra protein or as a dip with veggies of your choice.
Please let us know if you make this creamy roasted garlic hummus. We like sharing with our community and are always interested in your feedback! Leave a comment and a rating and don’t forget to tag us @plantedandpicked on Instagram and hashtag it #plantedandpicked. Pull up a chair and enjoy!
Ingredients
Hummus
- 3 heads garlic
- 1 15 oz can chickpeas drained and rinsed or 1 1/2 cups cooked
- 1 tsp baking soda
- 1/2 tsp ground cumin
- 1/2 tsp ground paprika
- 1/2 cup freshly squeezed lemon juice
- 1/2 tsp sea salt
- 1/2 cup tahini
- 1 -3 tbsp ice water
Topping (optional)
- 1 tsp extra virgin olive oil
- 1/2 tsp paprika
Instructions
Hummus
- Preheat the oven to 400°F. Chop the end of the garlic heads and place them in a shallow pan. Cover and cook for about 45 minutes. Let cool.
- While the garlic is cooking, drain and rinse canned chickpeas and remove shells by gently squeezing them between your thumb and forefinger.
- Place chickpeas in a medium sauce pot and fill with cold water to about 2 inches above chickpeas. Add baking soda and bring to a boil. Continue to boil gently for 3 minutes to soften chickpeas. Drain, rinse and let cool.
- Squeeze the cooked garlic out of the cloves and place in food processor with lemon juice, cumin, paprika and sea salt and process until the garlic is as small as possible.
- Add tahini and continue to process until well combined. Add cooked chickpeas and continue to process until very smooth.
- Add the ice water and continue processing, adding an additional water, if necessary (1 tbsp at a time), to reach desired consistency. We do not find this necessary.
- Feel free to halve this recipe for a smaller batch.
Serving Suggestion
- Place desired amount of hummus into a bowl and swirl to create troughs. Drizzle extra virgin olive oil over the hummus and sprinkle with paprika.



I have been wanting to try making humus for a while so I saw this recipe and went for it! So creamy and good! I will definitely be making this again.
Thank you Rhonda, this stuff doesn’t last long around our house ever. It’s a bad day when we run out of hummus or avocados, especially if there’s sourdough around!