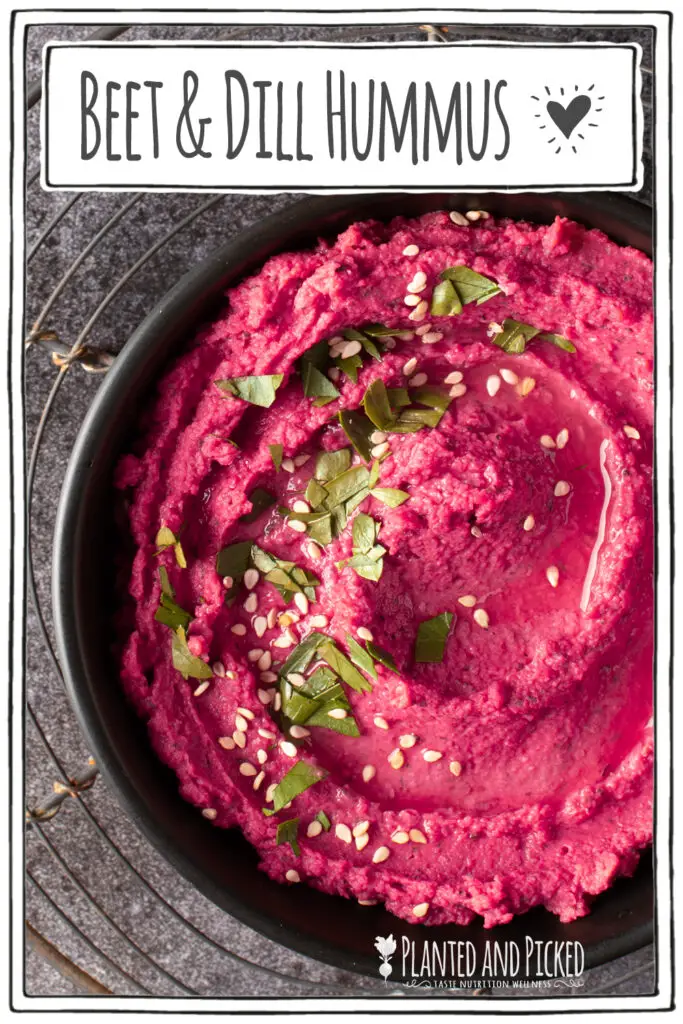
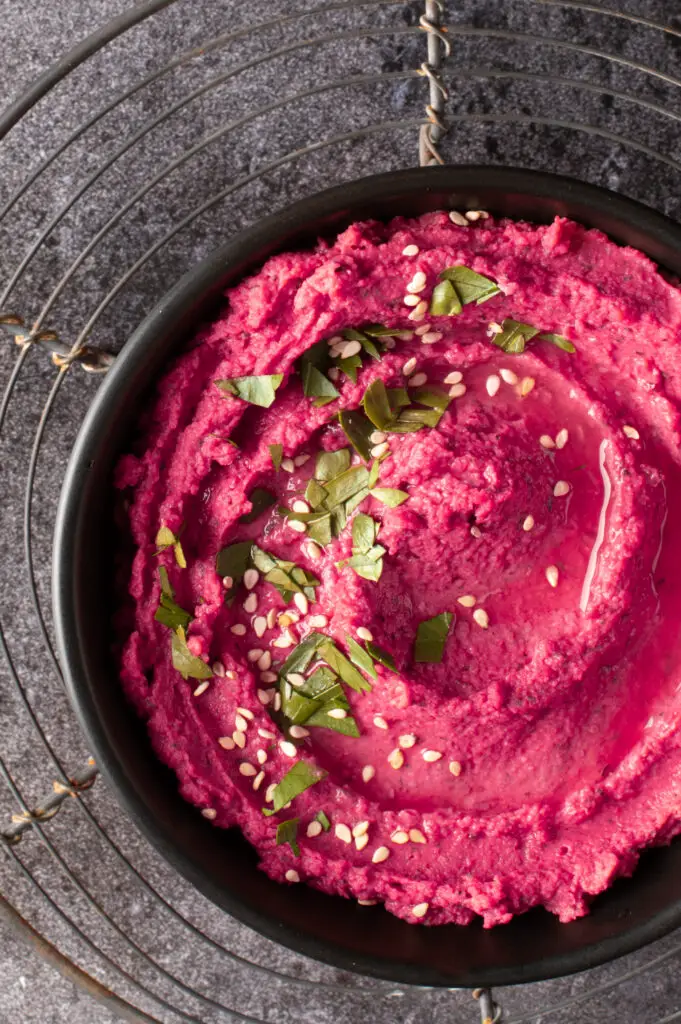
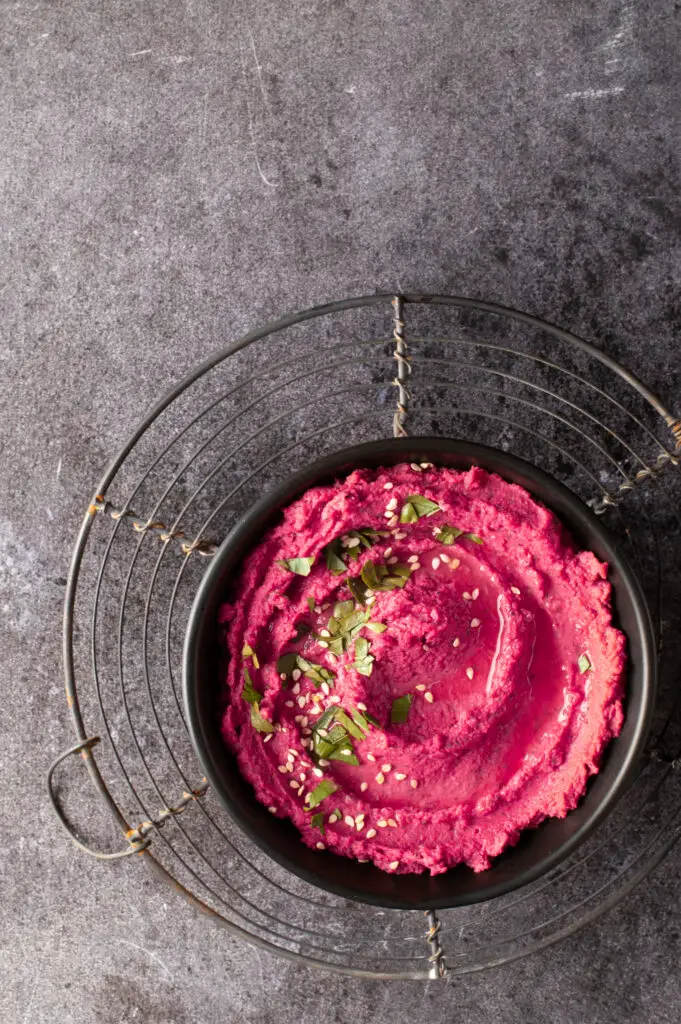
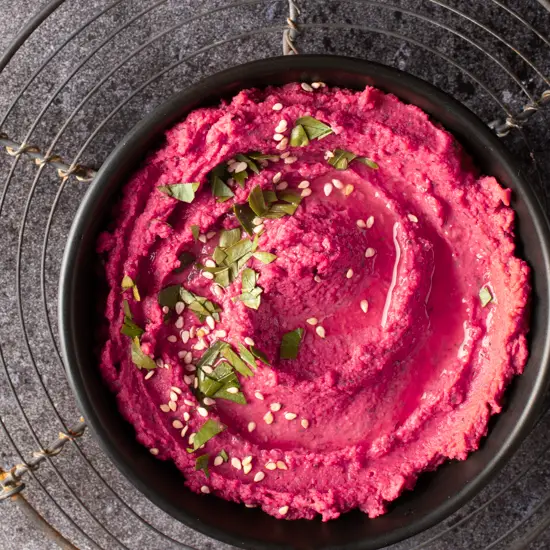
This Beet and Dill Hummus is a great variation on this staple. If you can master a basic hummus recipe, what you can add to make it your own is only limited by your imagination.
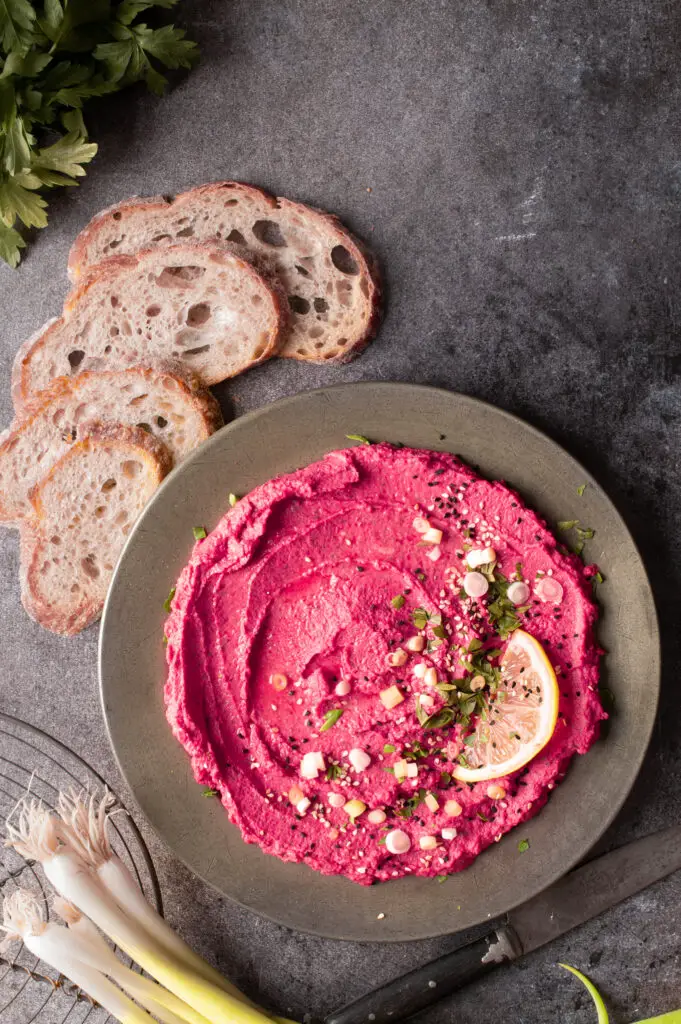
We love hummus and usually have at least a couple of varieties in the fridge at any one time. Of course, it’s great with pita, crackers or fresh veg. But, have you had it in roasted vegetable paninis or on sourdough toast with some fresh cucumber or tomato? Or you might also love it as a topping on a Buddha Bowl or as the base of a sauce for pasta.
Preparing Your Chickpeas for Hummus
You can cook your own chickpeas for this Beet and Dill Hummus, which is always the preferred method. Feel free, however, to use canned chickpeas for convenience. We often use canned chickpeas to save time. Just be sure to buy a brand whose cans are BPA free. Our recommendation is the Eden Organic brand.
We do use dried beans for our hummus on occasion because beans that are less processed retain more of their nutrients. Soaking dried beans helps to eliminate phytic acid in the beans. This acid can reduce our body’s absorption of iron and the digestibility of protein. We always soak our dry beans and peas overnight.
We like to remove the skins from the chickpeas because doing so makes for a creamier hummus. This is easy to do by holding the chickpea between your thumb and index finger and gently pinching. The chickpea will pop right out! Sometimes, we give this task to the teenagers in our house.
Such a Healthy Snack
One cup of chickpeas contains about 12g of fibre! Chickpeas are also a rich source of antioxidants, vitamins and minerals. They’re also known to improve digestion, boost heart health and lower inflammation. We eat a lot of chickpeas in our house! The beets in this Beet and Dill Hummus add an earthiness to this popular staple.
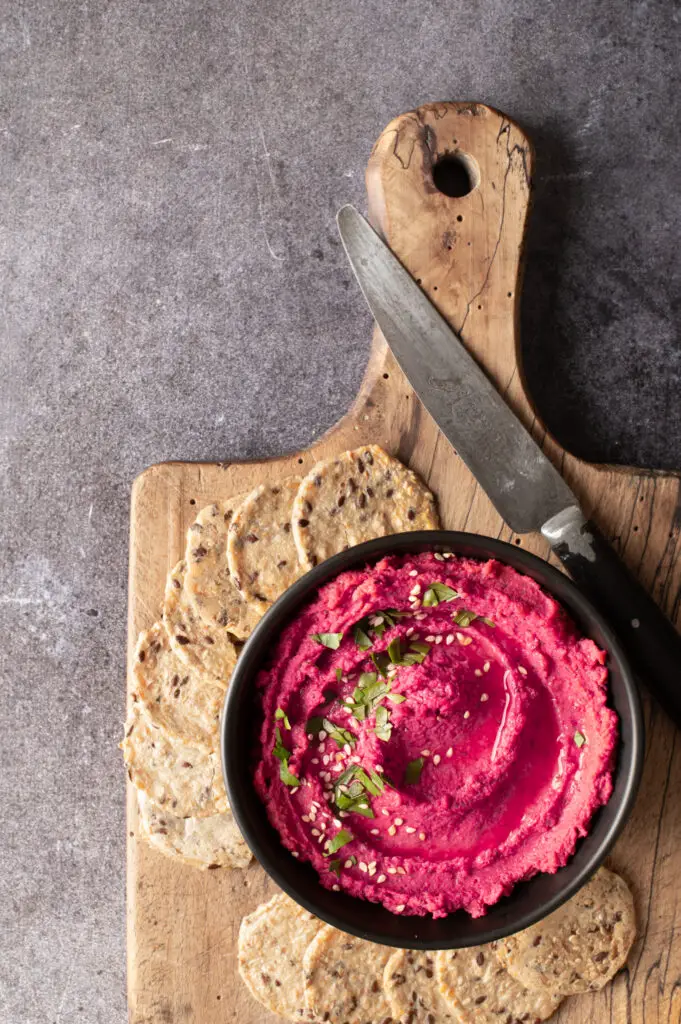
Spread some of this Beet and Dill Hummus on a pita loaded with roasted vegetables for added flavour and extra protein, or as a dip with veggies of your choice. Try this Creamy Roasted Garlic Hummus or Roasted Red Pepper Hummus and have two or three variations in the fridge, together. If you’re looking for more dipping snacks, try our Vegan Cashew Queso Dip.
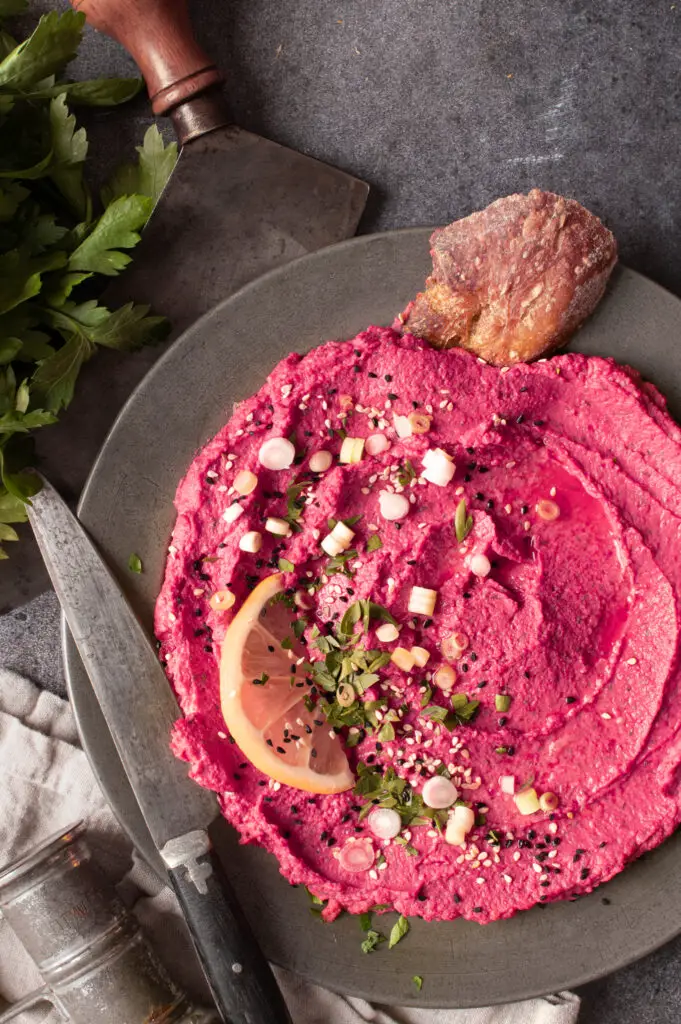
Please let us know if you make this Beet and Dill Hummus because we always like to see your feedback! Leave a comment and a rating and don’t forget to tag us @plantedandpicked on Instagram and hashtag it #plantedandpicked. Eat with family and friends and practice gratitude!
Equipment
- Food Processor
Ingredients
- 2 cups cooked chickpeas 398ml can
- ¼ cup tahini
- ¼ cup lemon juice
- ½ cup beets, grated
- 2 tbsps fresh dill or 2 tsp dry dill
- 1 large garlic clove, minced
- ¼ tsp sea salt
Instructions
- If you are using canned chickpeas, drain and rinse them.
- (Optional) – remove the skins from the chickpeas. Place the chickpea between your thumb and index finger. Gently squeeze and the chickpea should pop out of the skin. Discard the skins. Note – this will make the hummus creamier but is not required.
- Juice lemon (about 1 large lemon). Peel and mince garlic. Peel and grate the beet (we use a cheese grater).
- Add all ingredients to a food processor. Process for a few minutes, stopping periodically to scrape down the sides. Process until you reach a creamy consistency.
- Taste the hummus and adjust seasonings to your taste. Note that the flavours will blend and get stronger once refrigerated. When we tasted ours, we added an extra pinch of salt.
- This hummus can be stored in a covered glass container for up to a week.


Leave a Reply